
These took some time to make, and they are working great!

I love my house but there is very little sunny growing space; the patio right out my kitchen door gets the most sun. I decided to make some self-watering containers because 1) I travel some weekends and don’t want my plants to dry out and, 2) I am a very very lazy farmer. I like to install systems that don’t need my daily or twice daily attention. My friend Jen pointed this out to me and I am thankful for her observation! On that note, I love my chicken’s automatic door opener. It is a weekend-away life saver (literally, a chicken life saver).
So, I knew they had to roll because I also love moving furniture around and re-arranging my environment, to my family’s dismay. I also want to roll them behind the corner of the house to put them to bed for the winter. Here’s what I did.
I started with large barrels from the Home Depot. I would have gotten them at a more local store but I just couldn’t find them. The closest thing I found was at Mahoney’s and it was half the size and 2-3x the price. Then I added some wheels from Ikea that I had leftover from the store. Now, these are the weakest link in the system. I sort of consider them sacrificial zincs to this system, as they keep the barrels off the ground. It will stink to have to replace them, but I’ll go this season. If everything works the way I am hoping then I can lift them like a car in the shop and replace them with more expensive outdoor wheels.

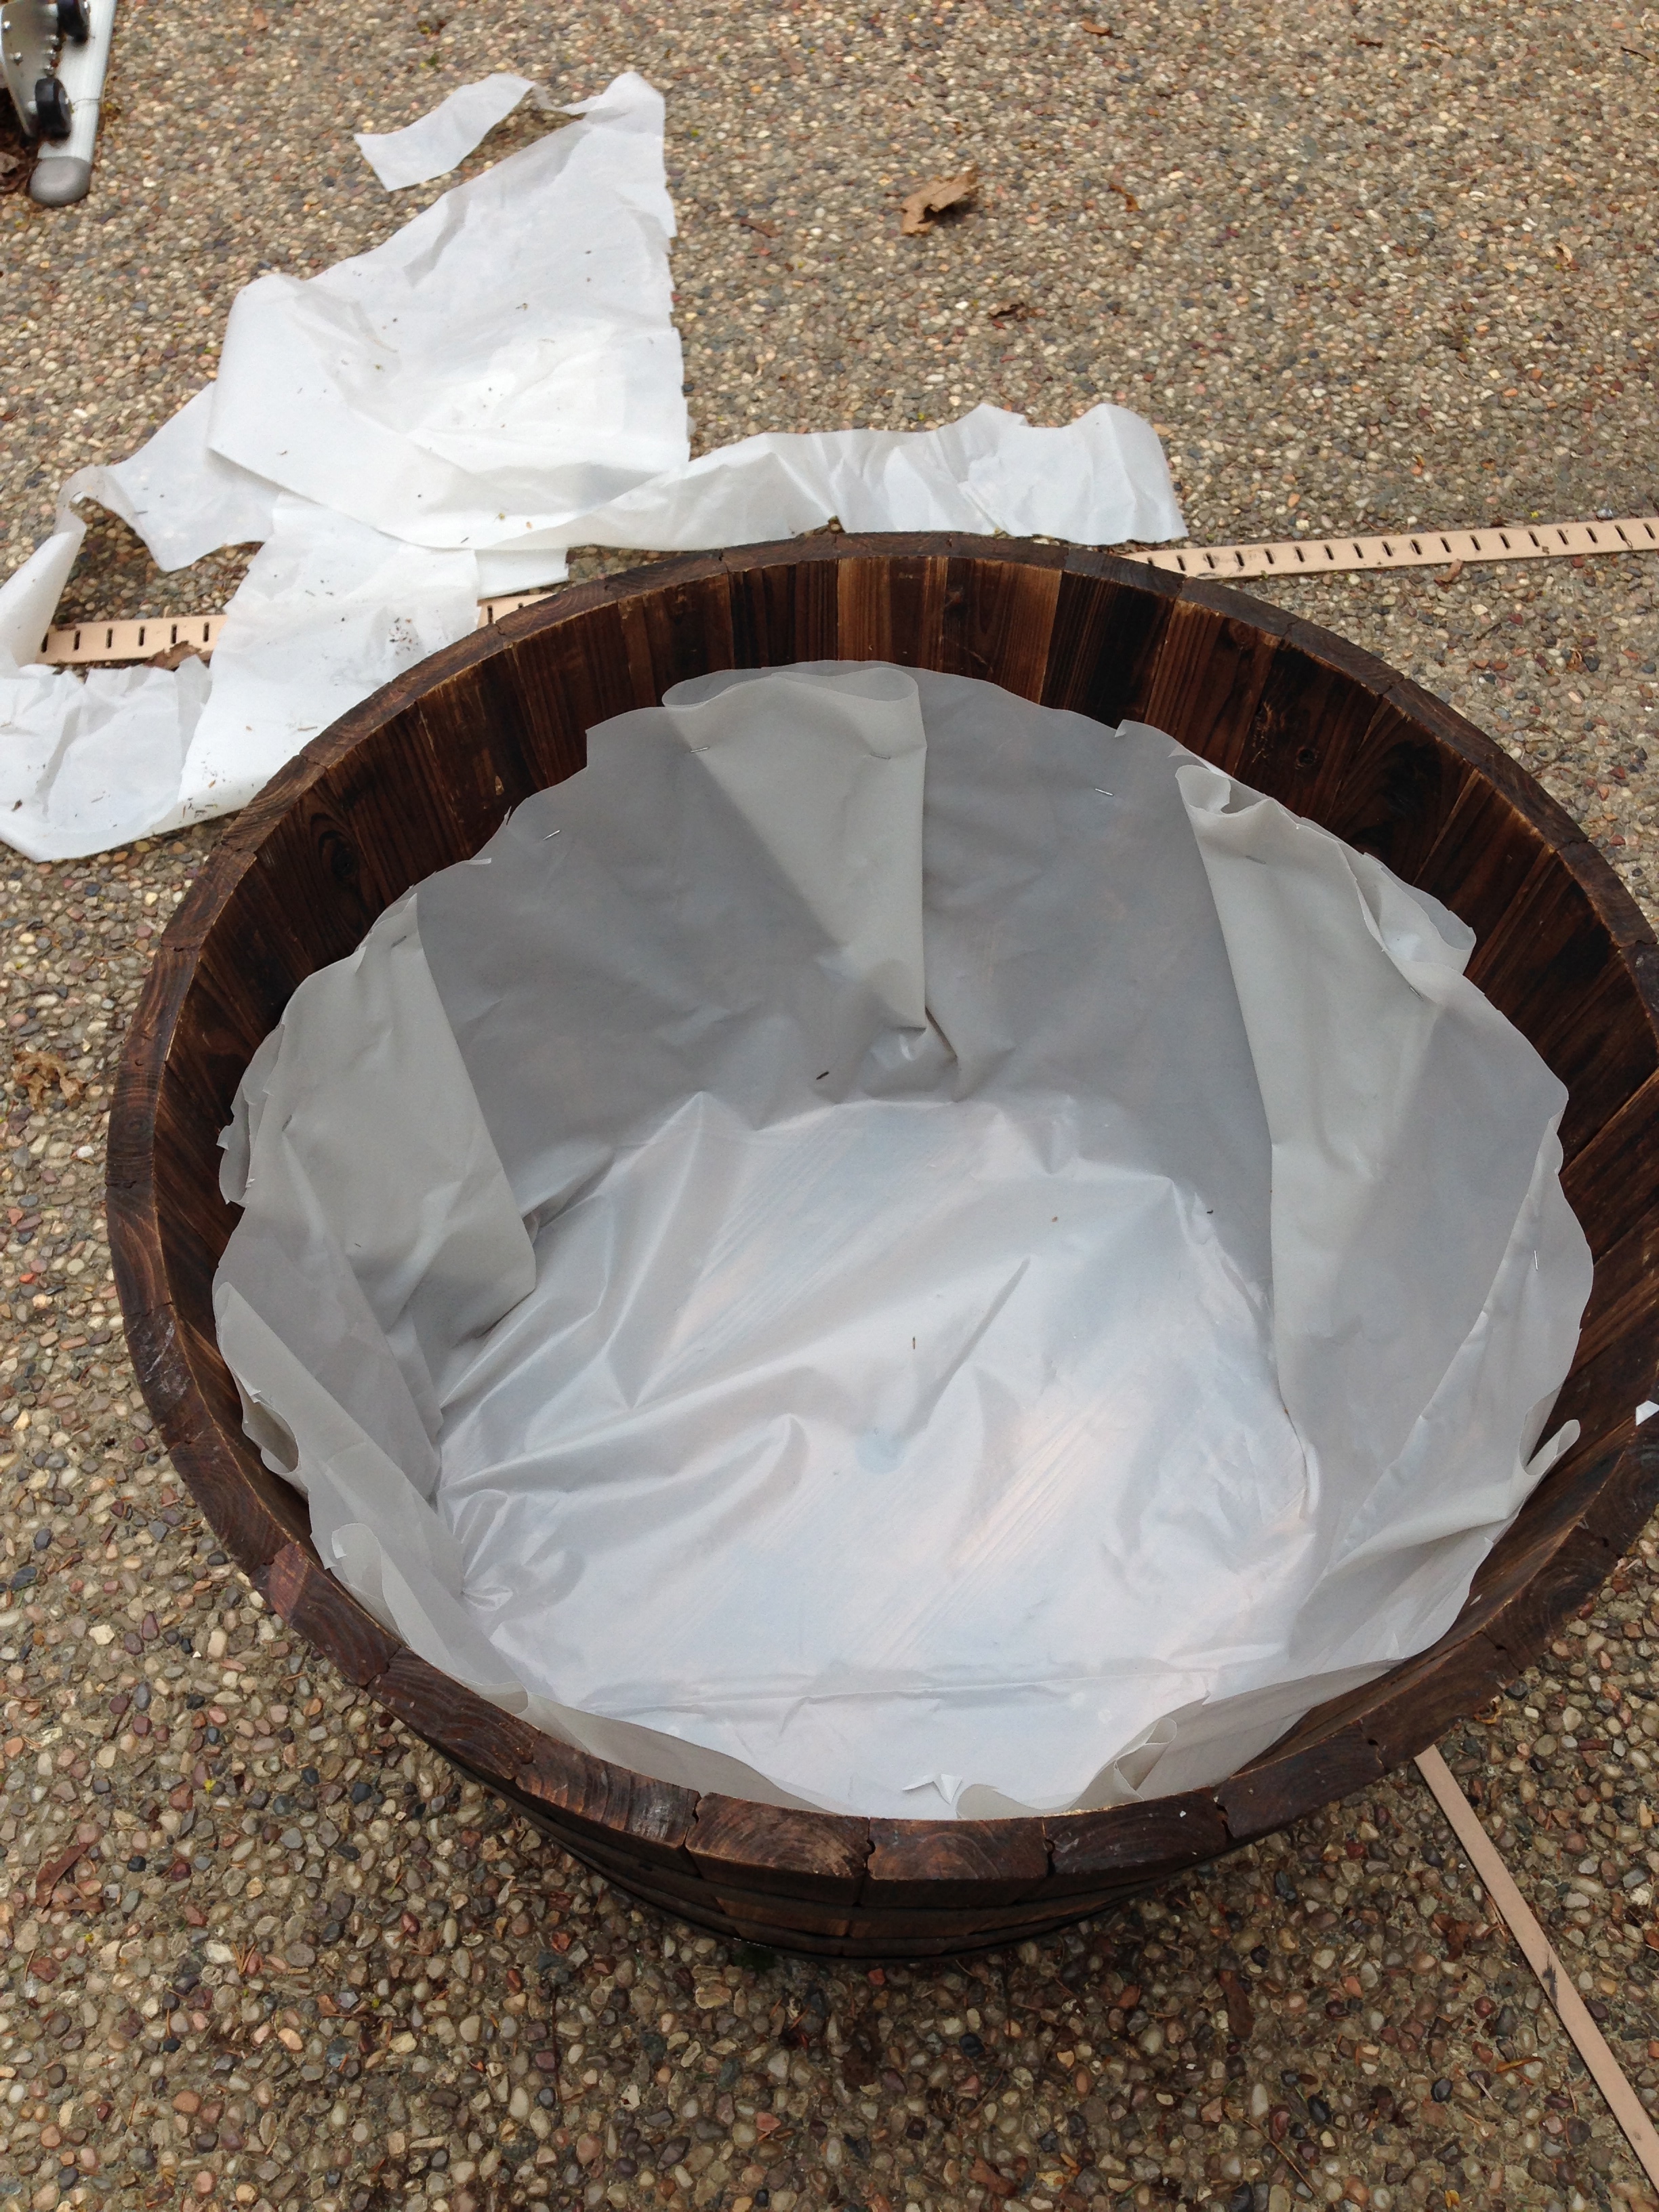
Next I added a plastic liner to the planters to create a waterproof reservoir in the bottom, for the self-watering reservoir. I ran the plastic high to the top of the dirt level. I used HDX 6 mil plastic sheeting. It is important that the sheeting is strong and doesn’t puncture or leave a gap, otherwise all your reservoir water will leak out of the bin. I bet heavy duty contractor bags will work, as long as the plastic reaches up the sides all the way around.If you have access to something else, like a trug or barrel bottom that you can set inside of the tank then that will be even better. I would still use the plastic sheeting, though, to keep moisture away from the walls of the barrel.


Next were the part that keeps the soil from collapsing down into the water reservoir — you need some supportive material with holes in it plus a way to fill that reservoir. I used perforated drainage pipe cut to fit in the bottom of the barrel. I cut a large hole in one of the pipes to fit the schedule 40 pipe as a filling spout, see below. I covered the drainage pipe with a cloth made for the pipe. It was very inexpensive but you could use some other material, like old pantyhose or even an old pillowcase. As for different containers rather than the drainage pipe, I read about people using plastic bottles to create this supported space.


The fill spout and drainage hole are next. Drill a hole in the drainage pipe to fit the diameter of your fill pipe. I pretty much love any opportunity to use a hole saw bit. Cut the pipe so it reaches all the way to the top of the barrel, above the soil level. This is where you will fill your reservoir from your garden hose ~once a week. Add an overflow spout so you don’t give your plants soggy feet in the rainy season. I stuck a little tubing through the barrel and the plastic and sealed it with some caulk. This overflow tube sets the top level of your water reservoir, so be sure to put it just at the height of where you want to fill to. I put mine just above the height of the drainage pipes. When you fill with water, you know when to stop when water starts coming out of your overflow tube.


Then fill gently with potting soil! I fancied mine up a bit by spray painting my fill tubes with black spray paint and adding little caps so debris doesn’t get into the pipes. Enjoy!


great idea !