Category Archives: Farming

Adding ducklings to the flock, preparation for day-olds

Today I set up the home for some day-old ducklings that should be arriving this week.  We have Indian Runner ducks, and, while the chicken instinctively does this, the Indian Runners just aren’t smart enough to go in the coop every night before the automatic coop door closes.  As a result, we lost two ducks to what is probably a raccoon predator in the last month.

Due to the loss and also because my goal is to have a laddered-bond approach to my small flock (a few new birds coming in each year to keep a steady flow of eggs from birds of different ages), I ordered day-old ducklings from McMurray Hatchery. I called them to ask for a breed that is smarter than the Indian Runners. The friendly person on the phone said that I should also steer clear of Blue Swedish. The result is 3 baby female Gold Star Hybrids arriving this week. These birds are good foragers and excellent layers. I had Khaki Campbells in the past, and really like those ducks. I think these will be similar.

IMG_0651

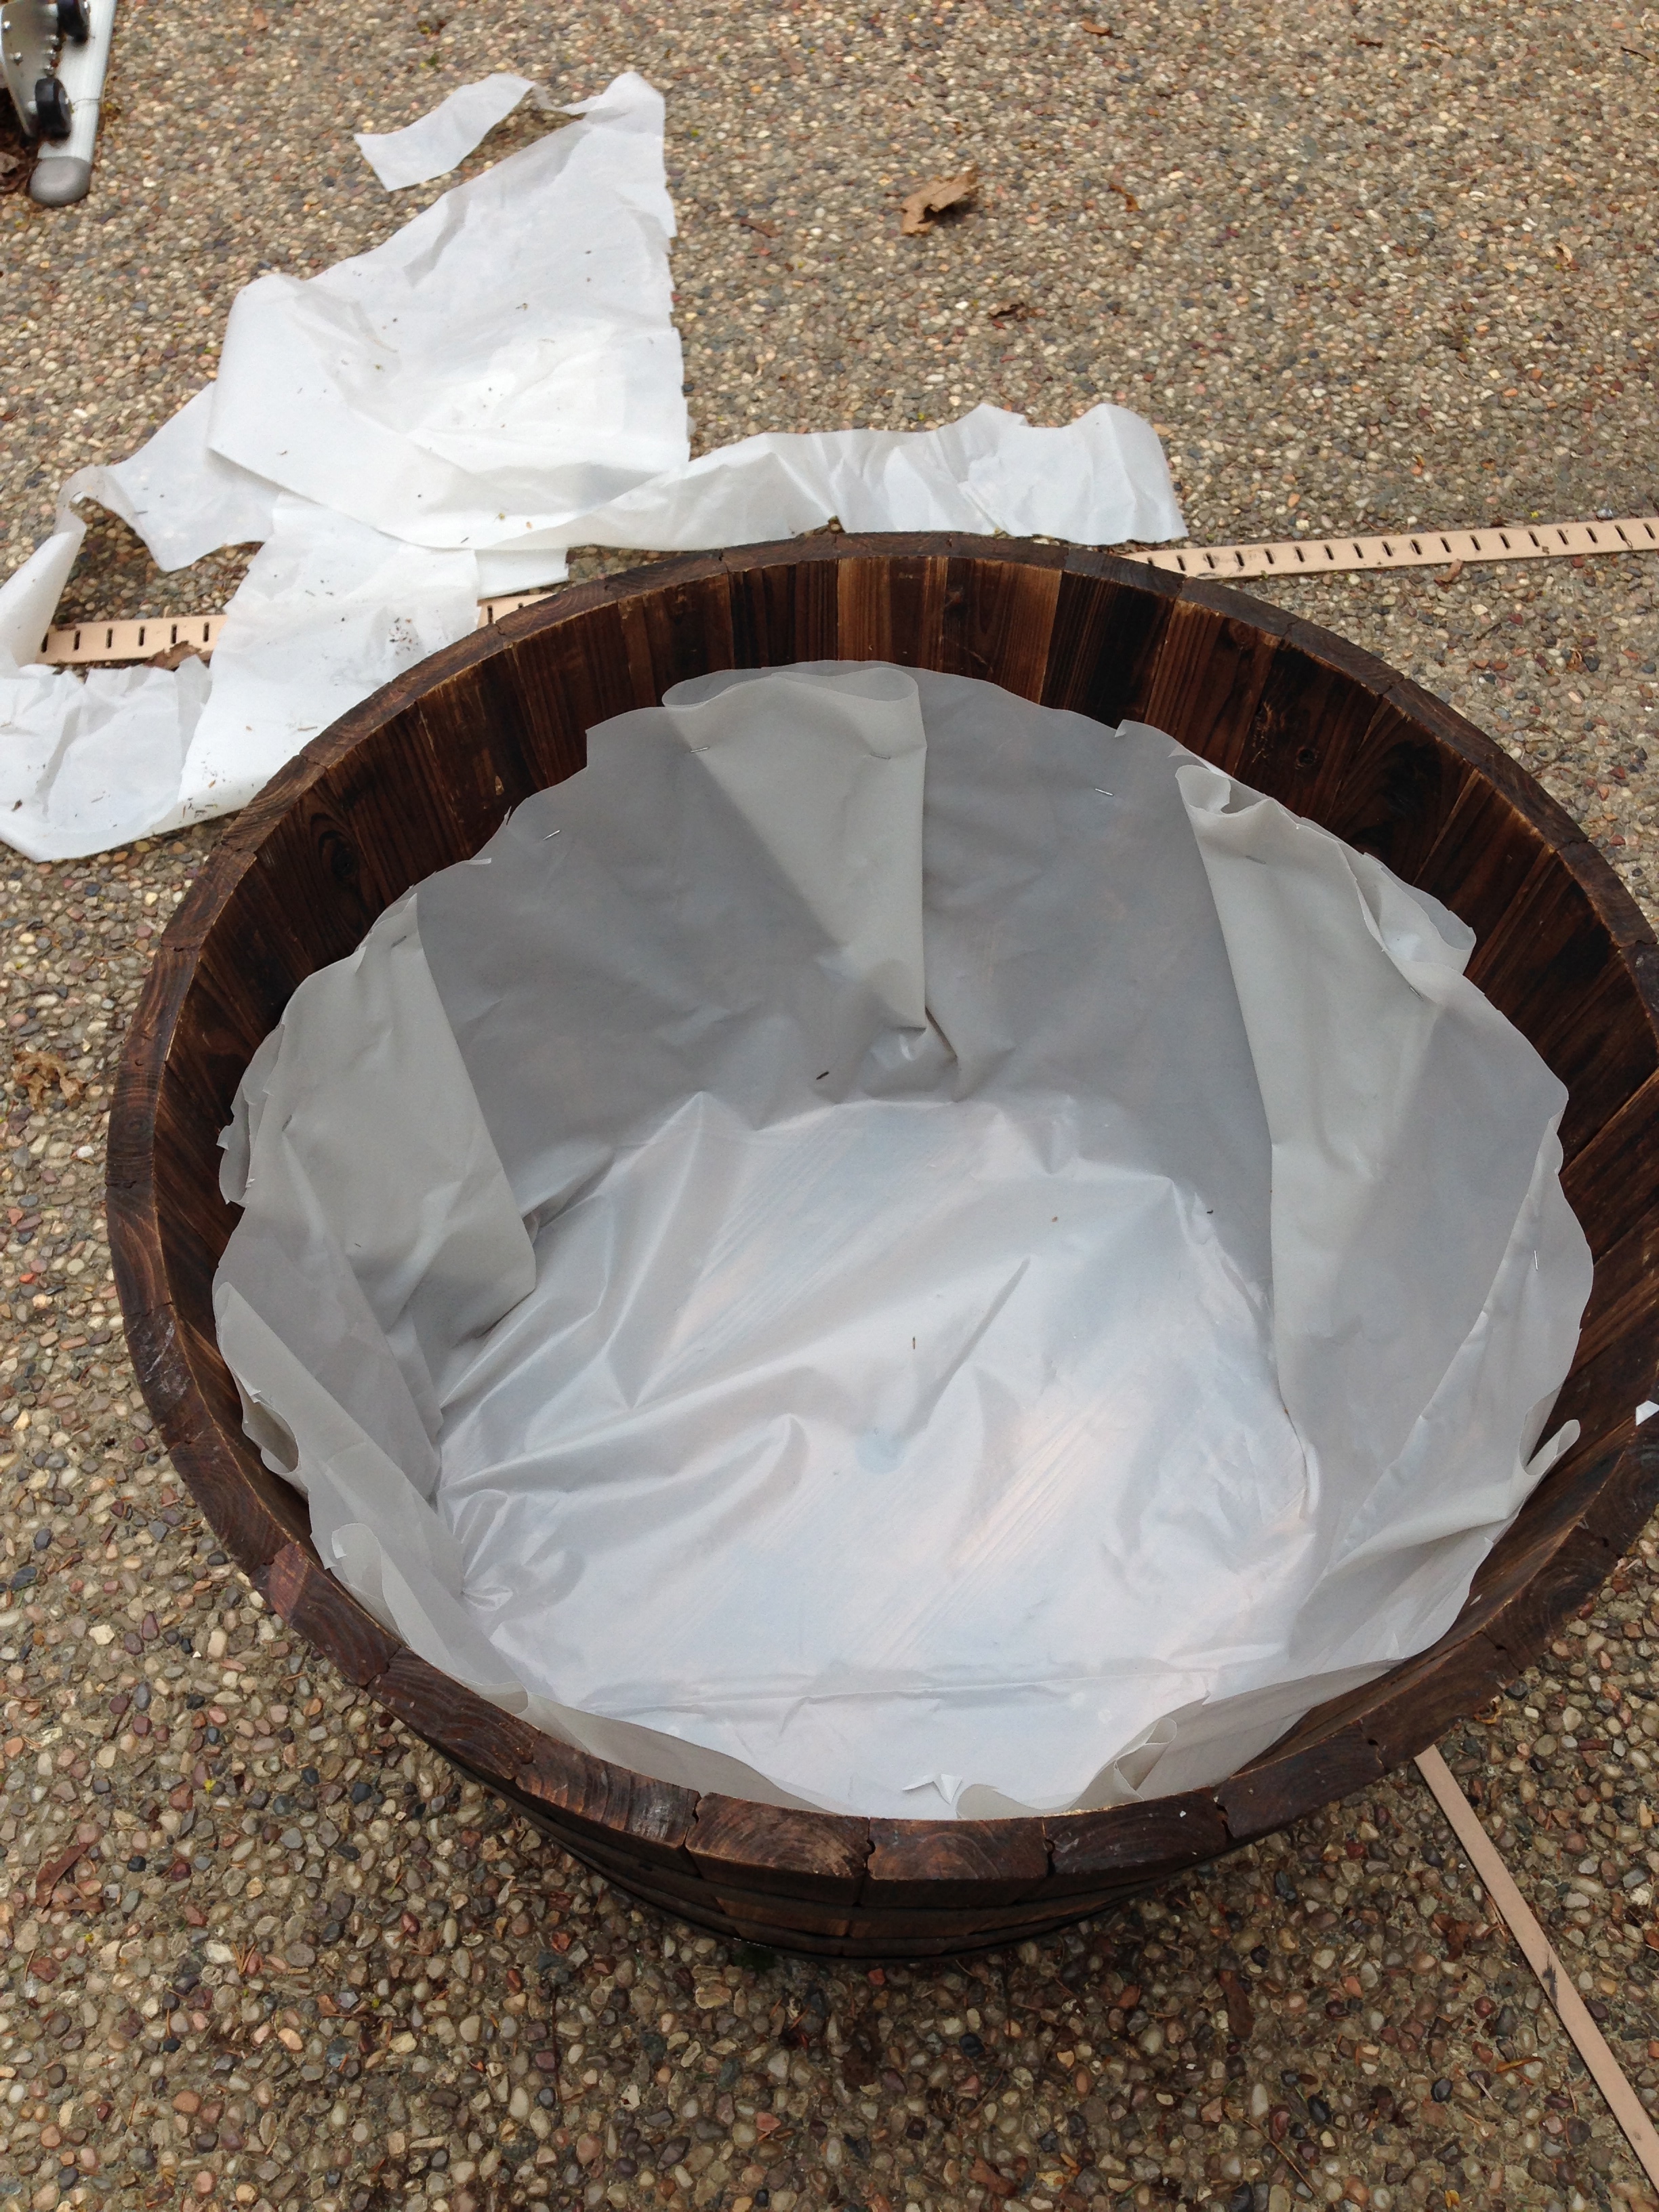
Top view of day-olds’ home, safe from cat

Here is the setup. This sits in a room that can be closed and locked against our cat, but in case of a breach we added a wire mesh top with weights on it to keep her out.  If you are doing this yourself, you will need

  • A large waterproof container with high sides
  • Clean shavings (other materials may do, these have worked very well for us in the past. We get them from Erikson Grain Mill in Acton, MA)
  • Small water bowl and food bowls that are hard to flip if stepped on
  • Heater that birds can get under – adjustable height. We like Brinsea’s safe heater.
  • Crumble feed (again, from Erikson Grain Mill)


As they grow, you can move the heater up higher so they fit underneath. I recommend these water and food bowls that can attach to mason jars. Note that free-access water for ducks will require more shavings cleanup. Eventually I will move them to a dog crate that has a plastic insert in the bottom. This gives them more room to move around and they can’t jump out. IMG_0657


Leave a comment

Filed under Ducklings, Farming

Sealing mushroom plugs

IMG_0280After inoculating the logs with the mushroom mycelium plugs, I coated the plugs with beewax, as directed by the Fungi Perfecti instructions. I used some beeswax that I had gotten from BetterBee several years back, when I had bees and was making candles, lip balm, etc. You can also use any food-grade wax.

I found this great factsheet with video from Cornell University (my alma mater) about home-farming mushrooms. I wish I took this class when I was an undergrad!

IMG_0268

Leave a comment

Filed under beeswax, Farming, Making Stuff, mushrooms, Uncategorized

Mushroom plugs #1

113 Shiitake mushroom plugs are in logs in my basement, the plugs sealed with wax. Tomorrow I hope to do set of Pearl Oysters.

IMG_0277.JPG

Leave a comment

Filed under Farming, Garden

Rolling Self-Watering Containers

These took some time to make, and they are working great!

IMG_6443

I love my house but there is very little sunny growing space; the patio right out my kitchen door gets the most sun. I decided to make some self-watering containers because 1) I travel some weekends and don’t want my plants to dry out and, 2) I am a very very lazy farmer. I like to install systems that don’t need my daily or twice daily attention. My friend Jen pointed this out to me and I am thankful for her observation! On that note, I love my chicken’s automatic door opener. It is a weekend-away life saver (literally, a chicken life saver).

So, I knew they had to roll because I also love moving furniture around and re-arranging my environment, to my family’s dismay. I also want to roll them behind the corner of the house to put them to bed for the winter. Here’s what I did.

I started with large barrels from the Home Depot. I would have gotten them at a more local store but I just couldn’t find them. The closest thing I found was at Mahoney’s and it was half the size and 2-3x the price. Then I added some wheels from Ikea that I had leftover from the store. Now, these are the weakest link in the system. I sort of consider them sacrificial zincs to this system, as they keep the barrels off the ground. It will stink to have to replace them, but I’ll go this season. If everything works the way I am hoping then I can lift them like a car in the shop and replace them with more expensive outdoor wheels.

IMG_6224

Next I added a plastic liner to the planters to create a waterproof reservoir in the bottom, for the self-watering reservoir. I ran the plastic high to the top of the dirt level. I used HDX 6 mil plastic sheeting. It is important that the sheeting is strong and doesn’t puncture or leave a gap, otherwise all your reservoir water will leak out of the bin. I bet heavy duty contractor bags will work, as long as the plastic reaches up the sides all the way around.If you have access to something else, like a trug or barrel bottom that you can set inside of the tank then that will be even better. I would still use the plastic sheeting, though, to keep moisture away from the walls of the barrel.

IMG_6220IMG_6218  IMG_6222IMG_6225

Next were the part that keeps the soil from collapsing down into the water reservoir — you need some supportive material with holes in it plus a way to fill that reservoir. I used perforated drainage pipe cut to fit in the bottom of the barrel. I cut a large hole in one of the pipes to fit the schedule 40 pipe as a filling spout, see below. I covered the drainage pipe with a cloth made for the pipe. It was very inexpensive but you could use some other material, like old pantyhose or even an old pillowcase. As for different containers rather than the drainage pipe, I read about people using plastic bottles to create this supported space.

IMG_6226IMG_6227

The fill spout and drainage hole are next. Drill a hole in the drainage pipe to fit the diameter of your fill pipe. I pretty much love any opportunity to use a hole saw bit. Cut the pipe so it reaches all the way to the top of the barrel, above the soil level. This is where you will fill your reservoir from your garden hose ~once a week. Add an overflow spout so you don’t give your plants soggy feet in the rainy season. I stuck a little tubing through the barrel and the plastic and sealed it with some caulk.  This overflow tube sets the top level of your water reservoir, so be sure to put it just at the height of where you want to fill to. I put mine just above the height of the drainage pipes. When you fill with water, you know when to stop when water starts coming out of your overflow tube.

IMG_6230IMG_6229

Then fill gently with potting soil!  I fancied mine up a bit by spray painting my fill tubes with black spray paint and adding little caps so debris doesn’t get into the pipes. Enjoy!

IMG_6231IMG_6346

1 Comment

Filed under Cool Products, Farming, Garden, Making Stuff, Uncategorized

Kale Salad from the container garden

I just harvested the first bunch of kale from my container garden and the kale leaves are tender and still sun-warm… yum!

IMG_6445

This recipe is from a good friend. This salad is delicious, fresh and full of vitamin nourishment. I feel like I am feeding my bones when I eat it. My kale leaves are tender now, but don’t worry if you have large tougher leaves. Remove the rib and then ribbon the leaves. The vinegar and oil soften the leaves. Also, I’m not really into picky food sourcing, so I substitute in any good oil, like olive. Today I am using avocado oil because I grabbed some at the natural market, but I bet it is better with the pumpkin oil.

Raw Kale Salad

1 bunch kale cut into ribbons
1 red onion chopped
1 ripe avocado diced
1 cup grated carrots
1/3 cup lemon juice
1/3 cup pumpkin oil

1tsp sea salt

Mix together all but the avocado in a large salad bowl.

Add avocado and let the salad marinate for at least an hour – overnight if the kale is particularly tough to start.

  ImageImage

1 Comment

Filed under Cooking, Farming, Health

Farm/Knitting/Etc Blog Archives 2007-2009

My farming/knitting/etc blog from 2007-2009 is back online!! Click archives if you really need a way to kill time…

I originally used iWeb to create this blog, but iWeb was depricated by Apple in 2010 or so. There was some help online, but porting the old blog to wordpress was prohibitively time consuming. Software to convert iweb blogs to wordpress no longer exists. That being said, my iWeb blog did export nicely as an entire website, and Krista at KVG Creative helped me ftp’ed the exported file.

While the content isn’t groundbreaking, it is nice that the blog isn’t lost. Blogging takes time and energy and I was sad to think of these entries hidden forever in my computer! Thanks for your help, P and Krista!

Leave a comment

Filed under Family, Farming, knitting